Introduction
Pop tarts have long been a beloved breakfast staple and a nostalgic treat for many. From their crisp pastry exterior to the sweet filling that lies within, these delightful pastries evoke memories of childhood mornings and quick snacks. However, while store-bought varieties might capture the essence of this classic treat, they often fall short in flavor and freshness. Enter the homemade version—an opportunity to elevate your pop tart experience by using fresh, high-quality ingredients that are both delicious and wholesome.
Homemade pop tarts not only allow you to control the sweetness and flavor but also give you the chance to experiment with fillings beyond the traditional options. Among the most cherished flavors, strawberry holds a special place in many hearts. With its sweet and slightly tart profile, fresh strawberries make an ideal filling, providing a burst of vibrant flavor in every bite. As we embark on this culinary adventure to create Sweet Berry Bliss: Homemade Strawberry Pop Tarts, you will discover how simple it is to recreate this classic treat from scratch, delighting not just your taste buds but also your friends and family.
Understanding the Basics of Pop Tart Dough
To create the perfect homemade pop tarts, we must start with the foundation: the dough. This is where the magic begins, and understanding the role of each ingredient in the dough is crucial for achieving that flaky, buttery texture reminiscent of store-bought varieties. The basic components of pop tart dough typically include all-purpose flour, cold butter, sugar, salt, and water. Let’s break down the importance of each ingredient:
– All-Purpose Flour: This provides the structure for our dough. The protein content in all-purpose flour contributes to the chewiness of the pastry. For a flakier texture, make sure to handle the dough gently.
– Cold Butter: The star ingredient in our dough, cold butter is essential for achieving flakiness. As the dough bakes, the water in the butter turns to steam, creating layers and pockets of air. To ensure the butter remains cold, it’s best to cut it into small cubes and refrigerate it until you’re ready to mix.
– Sugar: A small amount of sugar enhances the flavor of the dough and adds a hint of sweetness, which complements the strawberry filling beautifully.
– Salt: Salt is key to balancing flavors. It enhances the sweetness of the dough and acts as a flavor enhancer, bringing out the best in all the other ingredients.
– Water: Cold water helps bind the dough together. Adding it gradually allows you to achieve the right consistency without making the dough too wet.
Tips for Perfect Dough Consistency
Achieving the perfect dough consistency is an art that requires attention to detail. Here are some essential tips to keep in mind:
1. Use Cold Ingredients: Always start with cold butter, and if possible, use ice-cold water. This ensures that the butter doesn’t melt before baking, which is crucial for that flaky texture.
2. Don’t Overmix: When combining the ingredients, mix just until the dough comes together. Overmixing can develop gluten, leading to a tougher pastry rather than a tender one.
3. Chill the Dough: After forming the dough into a disk, wrap it in plastic wrap and refrigerate it for at least 30 minutes. This chilling step helps to relax the gluten, making the dough easier to roll out and contributing to a flakier final product.
Creating the Perfect Strawberry Filling
Now that we have our dough prepared, it’s time to focus on the star of the show: the strawberry filling. Utilizing fresh ingredients is vital for achieving a vibrant and flavorful filling. Here are the components we’ll need:
– Fresh Strawberries: The main ingredient, fresh strawberries provide a sweet and tangy flavor that is the essence of our pop tarts. When selecting strawberries, look for ones that are ripe, juicy, and fragrant.
– Sugar: We’ll add sugar to enhance the natural sweetness of the strawberries. The amount can be adjusted based on your preference and the ripeness of the fruit.
– Cornstarch: This ingredient acts as a thickening agent, helping to create a filling that isn’t too runny. It absorbs excess moisture from the strawberries during cooking.
– Lemon Juice: A splash of lemon juice brightens the flavor of the strawberries, enhancing their natural sweetness while adding a subtle tartness that balances the overall flavor profile.
– Vanilla Extract: A touch of vanilla extract adds depth and warmth to the filling, complementing the flavors of the strawberries beautifully.
Cooking Process: Achieving the Right Thickness and Flavor Balance
To prepare the filling, we must cook the strawberries with sugar, cornstarch, lemon juice, and vanilla extract. Here’s a brief overview of the cooking process:
1. Combine the Ingredients: In a medium saucepan, combine the chopped fresh strawberries, sugar, cornstarch, lemon juice, and vanilla extract.
2. Cook Over Medium Heat: Place the saucepan over medium heat and stir gently. As the mixture heats up, the strawberries will begin to release their juices, creating a syrupy consistency.
3. Simmer Until Thickened: Allow the mixture to simmer for about 5-10 minutes, stirring occasionally. The cornstarch will activate, thickening the filling to the desired consistency. You want it to be thick enough to hold its shape without being overly gelatinous.
4. Cool Before Assembling: Once thickened, remove the filling from the heat and let it cool completely before using it to fill the pop tarts. This cooling step is crucial, as adding hot filling to the dough can cause it to become soggy.
Rolling Out the Dough: Techniques for Success
With our dough and filling ready, the next step is rolling out the dough. This process requires some technique to ensure even thickness and avoid sticking. Here’s how to do it:
Step-by-Step Guide to Rolling Out the Dough Evenly
1. Divide the Dough: After chilling, divide the dough into two equal portions. This will make it easier to handle and roll out. Keep one portion in the refrigerator while you work with the other.
2. Prepare Your Work Surface: Lightly flour your work surface and rolling pin to prevent sticking. You can also place a sheet of parchment paper on your work surface for easier cleanup.
3. Roll Out the Dough: Start by flattening the dough into a rough rectangle with your hands. Then, using a rolling pin, gently roll out the dough to about 1/8-inch thickness. Rotate the dough occasionally to maintain an even shape and prevent sticking.
4. Check Thickness: Use a ruler or a bench scraper to ensure the dough is evenly rolled out. If necessary, adjust and roll out any thicker areas to create a uniform layer.
Tips on Preventing Sticking and Achieving the Right Thickness
– Flour Liberally: Don’t be afraid to use flour on your work surface and rolling pin to prevent sticking. This is especially important if your kitchen is warm, as the dough may become softer and stickier.
– Chill Between Rolls: If at any point the dough becomes too soft or difficult to handle, return it to the refrigerator for a few minutes to firm up.
– Use a Template: If you want uniform pop tarts, consider using a template or a ruler to cut the dough into even rectangles. This ensures that all your pop tarts will bake evenly.
– Keep It Cold: If your dough becomes too warm while rolling, take a break and chill it again. The colder the dough, the better the texture of the final pastry.
Assembling Your Homemade Pop Tarts
Once your dough is rolled out and your filling is cooled, it’s time to assemble your pop tarts. This is the part where you can let your creativity shine while ensuring that each pastry is sealed properly to keep the filling inside.
Instructions for Cutting and Assembling the Pop Tarts
1. Cut the Dough: Using a sharp knife or a pizza cutter, cut the rolled-out dough into rectangles. A standard size for pop tarts is about 3 inches by 5 inches, but you can adjust this based on your preference.
2. Add the Filling: Place a tablespoon of the cooled strawberry filling in the center of half of the dough rectangles, leaving a border around the edges to allow for sealing.
3. Seal the Edges: To seal the pop tarts, place another rectangle of dough over each filled rectangle. Using your fingers, gently press down around the edges to seal. For a more secure seal, you can use a fork to crimp the edges, creating a decorative pattern while ensuring the filling stays inside.
4. Poke Holes: Before baking, it’s important to poke a few holes in the top of each pop tart. This allows steam to escape during baking, preventing them from bursting.
Discussion on Sealing Techniques to Prevent Filling from Leaking
Proper sealing is crucial to ensure that your strawberry filling doesn’t leak out during baking. Here are a few techniques to ensure a secure seal:
– Moisten the Edges: Before placing the top rectangle of dough, you can lightly moisten the edges with a bit of water. This helps create a better seal between the two layers of dough.
– Fork Crimping: As mentioned, crimping the edges with a fork not only adds a decorative touch but also helps to tightly seal the edges. Ensure that the fork prongs are pressed firmly into the dough, creating a barrier that will hold the filling in place.
– Chill Again: After assembling, consider chilling the pop tarts for another 15-20 minutes before baking. This helps firm up the dough and ensures that the seals hold during the baking process.
—
As we continue with the next part of this recipe, we will explore the baking process, icing options, and tips for serving and storing your homemade strawberry pop tarts. The journey of creating these delightful pastries is not only rewarding but also a wonderful way to share the love of baking with family and friends. Stay tuned for more delicious details!
Creative Ideas for Different Shapes and Sizes
When it comes to homemade strawberry pop tarts, the creativity doesn’t stop at the filling. You can experiment with various shapes and sizes to make your pop tarts unique and visually appealing. Instead of the classic rectangular shape, consider cutting your dough into circles, hearts, or even fun animal shapes using cookie cutters. This is particularly delightful for children’s parties or themed events.
If you prefer bite-sized treats, roll out the dough thinner and cut smaller shapes for mini pop tarts. These smaller versions are perfect for snacks or as part of a dessert platter. Additionally, you could create a pop tart “sandwich” by layering two pieces of dough with filling in between, allowing for an even more generous filling.
By varying the shapes and sizes, you can cater to different occasions and personal preferences, making your sweet berry bliss a versatile addition to any meal or celebration.
Baking to Perfection
Baking your homemade strawberry pop tarts requires attention to detail, particularly regarding oven settings and baking times, which can significantly impact the final result. Preheat your oven to 375°F (190°C) and ensure it is fully heated before placing your pop tarts inside. A properly preheated oven helps the pastry rise and achieve a golden-brown color while ensuring even cooking.
As your pop tarts bake, keep an eye on them. The telltale signs that they are ready include a beautiful golden-brown crust and a slightly puffed appearance. Depending on your oven, baking time can vary, but typically, your pop tarts will take about 20-25 minutes.
Once you take them out of the oven, it’s crucial to let them cool on a wire rack. This step is vital for achieving optimal texture. Cooling on a wire rack prevents moisture from accumulating at the bottom, which can lead to a soggy pastry. Allow your pop tarts to cool completely before icing them, as the icing will melt if applied to a warm pastry.
Crafting the Icing: A Sweet Finish
No pop tart is complete without a delicious icing that adds a sweet finish. To create the perfect icing, you’ll need the following ingredients: powdered sugar, milk or cream, and vanilla extract.
Ingredients:
– 1 cup powdered sugar
– 2 tablespoons milk or cream (adjust for consistency)
– 1/2 teaspoon vanilla extract
The powdered sugar serves as the base for the icing, providing sweetness and a smooth texture. Milk or cream adds a creamy consistency that’s easy to spread or drizzle. Vanilla extract enhances the flavor, making your icing irresistible.
To achieve the right consistency for your icing, start by mixing the powdered sugar and vanilla extract in a bowl. Gradually add milk or cream until you reach a smooth yet slightly thick texture, ideal for drizzling. If the icing is too thick, add a little more milk; if it’s too runny, incorporate more powdered sugar.
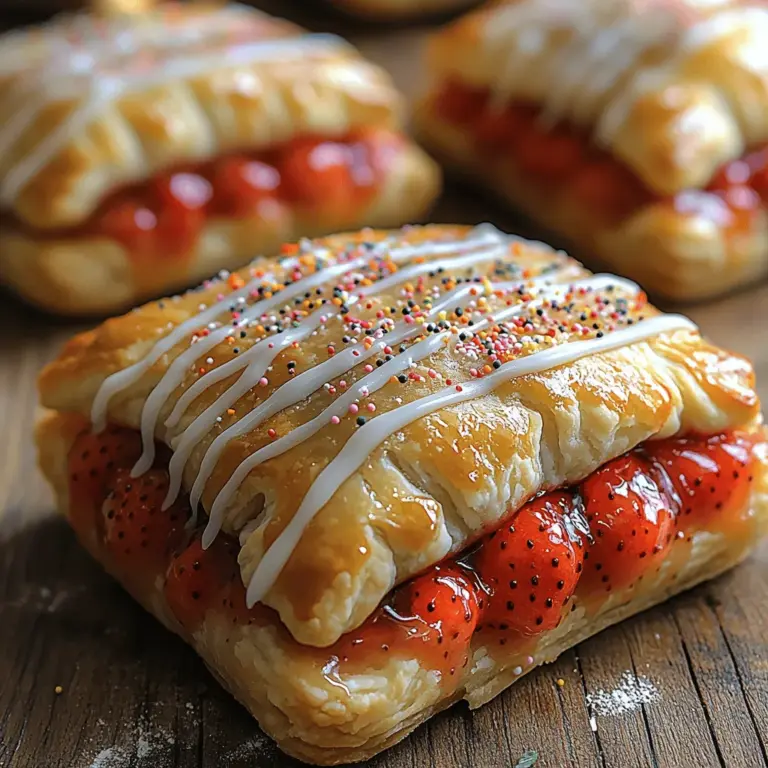
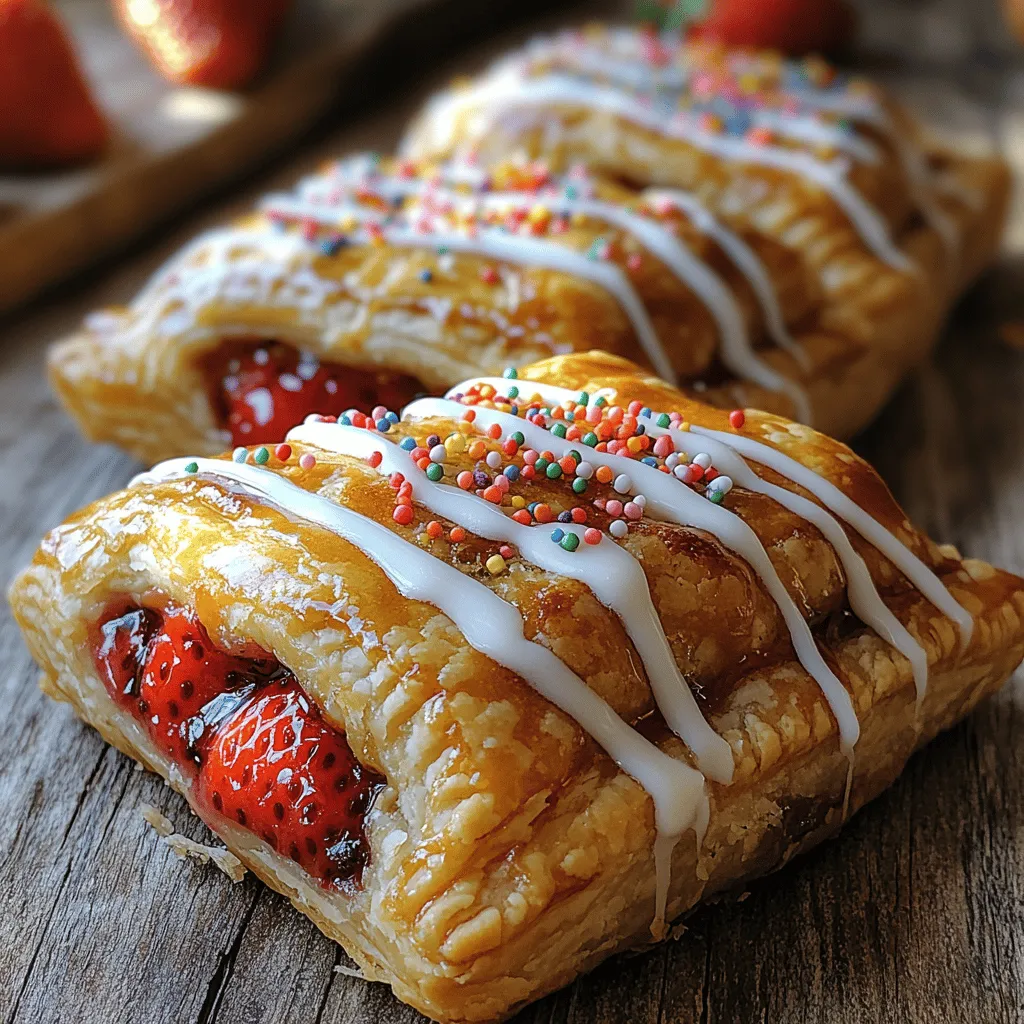
Once your icing is ready, you can drizzle it over the cooled pop tarts using a spoon or a piping bag for more control. For an extra touch, consider adding colorful sprinkles on top of the icing before it sets. This not only enhances the visual appeal but also adds a fun crunch that complements the soft pastry.
Savoring Your Creation: Serving Suggestions
Now that your homemade strawberry pop tarts are beautifully iced and cooled, it’s time to savor your creation! These delightful pastries can be served in various ways to suit any occasion.
For breakfast, serve your pop tarts warm with a side of fresh fruit or a dollop of whipped cream. They also pair wonderfully with coffee or tea, making them an excellent choice for a cozy morning at home or a brunch gathering with friends.
As a snack, pop tarts can be enjoyed on their own or with a glass of milk for a nostalgic treat reminiscent of childhood. For dessert, consider serving them with a scoop of vanilla ice cream or drenching them in a warm berry compote for an indulgent twist.
The versatility of pop tarts is remarkable; they can easily transition from breakfast to snacks or desserts, making them a delightful addition to any meal throughout the day.
Healthier Alternatives and Variations
For those looking to enjoy homemade strawberry pop tarts with a healthier twist, there are several modifications you can make. Consider substituting all-purpose flour with whole wheat flour for added nutrition and fiber. Whole wheat flour has a slightly nuttier flavor and can enhance the overall taste of your pastries.
If you want to reduce sugar, explore alternative sweeteners like honey, maple syrup, or agave nectar. These natural sweeteners can provide a different flavor profile while still satisfying your sweet tooth. Additionally, using fruit purees can enhance sweetness without adding refined sugars.
Don’t be afraid to mix up the filling either! While strawberry is a classic choice, other fruit fillings like blueberry, raspberry, or mixed berries can create a variety of flavors. You can also try adding spices, such as cinnamon or nutmeg, to your fruit filling for a warm, inviting taste.
For those with dietary restrictions, there are vegan or gluten-free adaptations available. Use plant-based butter or coconut oil in place of traditional butter, and opt for gluten-free flour blends to cater to gluten-sensitive individuals. These adaptations allow everyone to enjoy the bliss of homemade pop tarts without compromising their dietary needs.
Conclusion
Creating homemade strawberry pop tarts is not just about following a recipe; it’s about embracing the joy of baking and the satisfaction of using fresh, quality ingredients. The process of making your own pop tarts allows for immense creativity, from the filling to the icing and even the shapes you choose.
As you bake, you can explore various flavors and techniques, ultimately crafting a treat that is truly your own. The delightful aroma of baking pastries fills your kitchen, creating a warm and inviting atmosphere that invites others to join in the experience.
So, gather your ingredients, roll out that dough, and dive into the world of homemade strawberry pop tarts. Whether you stick with classic flavors or experiment with new ideas, the journey of baking is as rewarding as the delicious results. Enjoy every moment and savor the sweet berry bliss!
