Crispy Chicken Avocado Wraps: A Flavorful Delight
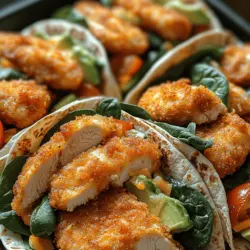
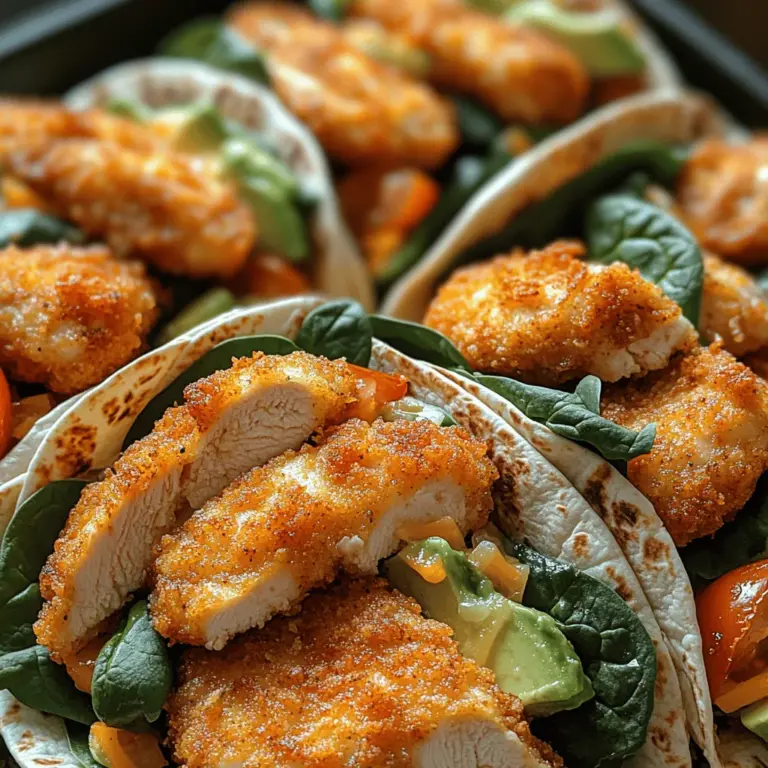
When it comes to satisfying meals that combine crunch, freshness, and vibrant flavors, Crispy Chicken Avocado Wraps stand out as a favorite for many. This recipe blends tender, crispy chicken with the creamy richness of avocado and the crispness of fresh vegetables, creating a wrap that is not only delicious but also a delight to the senses. The allure of this dish lies in its ability to cater to various dietary preferences and its adaptability to personal tastes, making it a perfect choice for any occasion.
The ingredients in these wraps not only contribute to an enjoyable eating experience but also pack a nutritional punch. Avocados, often hailed as a superfood, are loaded with healthy fats, fiber, and essential vitamins, while spinach adds a wealth of nutrients, including iron and vitamin K. Together, these components create a wrap that is as wholesome as it is tasty, appealing to health-conscious individuals and food lovers alike.
In this article, we will guide you through the process of making Crispy Chicken Avocado Wraps, from understanding the essential ingredients to the steps involved in preparing this satisfying meal. Let’s dive into the details of this delicious recipe and set the stage for you to create your own culinary masterpiece.
Understanding the Ingredients
In any successful recipe, the quality and selection of ingredients play a crucial role. For our Crispy Chicken Avocado Wraps, we will focus on a few key components that contribute to both the flavor and texture of the dish.
Chicken Breasts: The star of our wraps is boneless, skinless chicken breasts. Choosing this cut is vital for achieving tenderness and flavor. The absence of skin allows for a lighter dish, while the boneless aspect makes preparation straightforward and easy to handle. When cooked properly, chicken breasts can remain juicy and succulent, providing the perfect base for our crispy coating.
Buttermilk: One secret to achieving the ultimate crispy chicken is marinating it in buttermilk. This ingredient not only enhances the flavor but also helps to tenderize the meat. The acidity in buttermilk breaks down the proteins, resulting in a moist and flavorful chicken. Additionally, buttermilk adds a subtle tang that complements the other flavors in the wrap beautifully.
Breadcrumbs: For that coveted crunch, we turn to breadcrumbs, specifically panko. Panko breadcrumbs are coarser than traditional breadcrumbs, allowing for a crispier texture once fried. This extra crunch is essential in creating the contrast between the crispy chicken and the creamy avocado, making each bite a delightful experience.
Fresh Vegetables: The inclusion of fresh vegetables elevates the nutritional profile of our wraps. Avocado, with its smooth texture and healthy fats, pairs perfectly with the crispness of spinach and the juiciness of tomatoes. Spinach is not only a great source of vitamins A and C but also adds a refreshing element to the wrap. Tomatoes contribute a burst of flavor and hydration, rounding out the filling with their natural sweetness.
Marinating the Chicken
The marinating process is a critical step in preparing crispy chicken for our wraps. By allowing the chicken to soak in buttermilk, we enhance its flavor and tenderness, ensuring a juicy bite with every mouthful.
Step-by-Step Guide to Marinating in Buttermilk:
1. Prepare the Marinade: In a bowl, combine enough buttermilk to fully submerge the chicken breasts. You may add spices such as garlic powder, paprika, or black pepper for additional flavor.
2. Add the Chicken: Place the boneless chicken breasts into the buttermilk mixture, ensuring they are fully coated. Cover the bowl with plastic wrap or transfer the mixture to a resealable bag.
3. Marinate: For optimal results, allow the chicken to marinate in the refrigerator. A minimum of 30 minutes is recommended for quick preparation, but for best flavor and tenderness, aim for 4 to 8 hours, or even overnight if time allows.
4. Remove and Drain: After marinating, remove the chicken from the buttermilk and let any excess drip off. This step is important to prevent the breading from becoming soggy during the cooking process.
Tips on Marinating Duration: While a quick marination can still yield tasty results, longer marination allows the flavors to penetrate deeper into the chicken. If you’re in a hurry, 30 minutes will suffice, but consider planning ahead for an overnight marination for a more flavorful outcome.
Setting Up the Breading Station
Once the chicken has marinated, it’s time to prepare for the breading process, which is essential for achieving that irresistible crispy coating. Setting up a proper breading station will make this process efficient and organized.
Three-Step Breading Station Setup:
1. Flour Dredge: In the first shallow dish, add all-purpose flour mixed with salt, pepper, and any additional spices you prefer. This initial step helps the buttermilk adhere to the chicken and forms the first layer of crunch.
2. Egg Wash: In the second dish, whisk together a few eggs. The egg wash creates a sticky layer that allows the breadcrumbs to cling to the chicken effectively.
3. Breadcrumb Coating: In the final dish, place panko breadcrumbs. This is where the magic happens; the panko will provide the ultimate crunch that we’re looking for in our crispy chicken.
Breading Process: Take each marinated chicken breast and first coat it in the flour mixture, shaking off any excess. Next, dip it into the egg wash, allowing any excess to drip off before finally pressing it into the panko breadcrumbs, ensuring an even coating. Repeat this process for each piece of chicken, setting them aside on a plate or baking sheet until you’re ready to fry.
Personalizing the Flavor Profile: One of the joys of making Crispy Chicken Avocado Wraps is the ability to customize the spices in your breading. Feel free to experiment with different herbs and spices such as cayenne pepper for heat, Italian seasoning for an aroma, or even parmesan cheese mixed into the breadcrumbs for an extra layer of flavor.
This preparation sets the stage for frying, where the real transformation occurs. With the ingredients marinated and the chicken breaded, you are now ready to cook up a batch of crispy chicken that will elevate your wraps to a new level of deliciousness. Stay tuned as we delve into the techniques for frying to perfection, ensuring each piece of chicken is golden brown and irresistibly crunchy.
Choosing the Right Oil and Temperature
The success of your crispy chicken avocado wraps starts with selecting the right oil. Choosing an oil with a high smoke point is essential for frying your chicken. Options like canola oil, vegetable oil, or peanut oil are excellent choices due to their ability to withstand high temperatures without burning. Aim for an oil temperature of around 350°F (175°C). This temperature is perfect for achieving that desirable crispy texture without overcooking the chicken.
To ensure the oil is at the right temperature, use a cooking thermometer. If you don’t have one on hand, drop a small piece of bread into the oil; if it sizzles and turns golden brown in about 60 seconds, your oil is ready. Maintaining the correct temperature is crucial as too low of a temperature can lead to greasy chicken, while too high can burn the batter before the chicken cooks through.
Importance of Cooking Time and Checking Internal Temperature for Safety
Cooking time is vital not only for flavor but also for food safety. For chicken, the USDA recommends cooking it to a minimum internal temperature of 165°F (74°C). Use a meat thermometer to check the thickest part of the chicken breast to ensure it’s thoroughly cooked. This step is essential, especially when frying, as the outer crust might appear golden brown while the inside remains undercooked.
Generally, chicken breasts will take about 6 to 8 minutes to cook, depending on their thickness. For even cooking, consider pounding the chicken breasts to an even thickness before breading and frying. This ensures that they cook uniformly, giving you a perfectly crispy exterior and juicy interior.
Tips for Achieving a Perfect Golden Brown Crust
Achieving that ideal golden brown crust on your chicken is an art form. Here are some tips to ensure your chicken comes out perfectly crispy:
1. Dry the Chicken: Pat your chicken breasts dry with paper towels before breading. Moisture on the surface can create steam, preventing the crust from getting crispy.
2. Season the Flour: Don’t forget to season your flour mixture! Adding salt, pepper, and spices to the flour enhances the overall flavor of your chicken.
3. Double Dredge: For an extra-crispy coating, consider double dredging your chicken. After dipping in the egg wash, coat the chicken again in the seasoned flour before frying.
4. Avoid Overcrowding the Pan: Frying too many pieces of chicken at once can lower the oil temperature, leading to soggy crusts. Fry in batches if necessary.
5. Drain on a Rack: After frying, let the chicken rest on a wire rack instead of paper towels. This prevents steam from softening the crust, keeping it crispy until serving.
Assembling the Wraps
Step-by-Step Instructions for Assembling the Wraps
Once your chicken is perfectly cooked and crispy, it’s time to assemble your wraps. Follow these steps for a deliciously balanced wrap:
1. Prepare Your Ingredients: Gather your tortillas, sliced avocado, fresh spinach, diced tomatoes, and any additional toppings you enjoy (like cheese or salsa).
2. Layer the Greens: Start by laying a generous handful of fresh spinach on the tortilla. This not only adds nutrition but also creates a barrier that keeps moisture from the chicken from making the tortilla soggy.
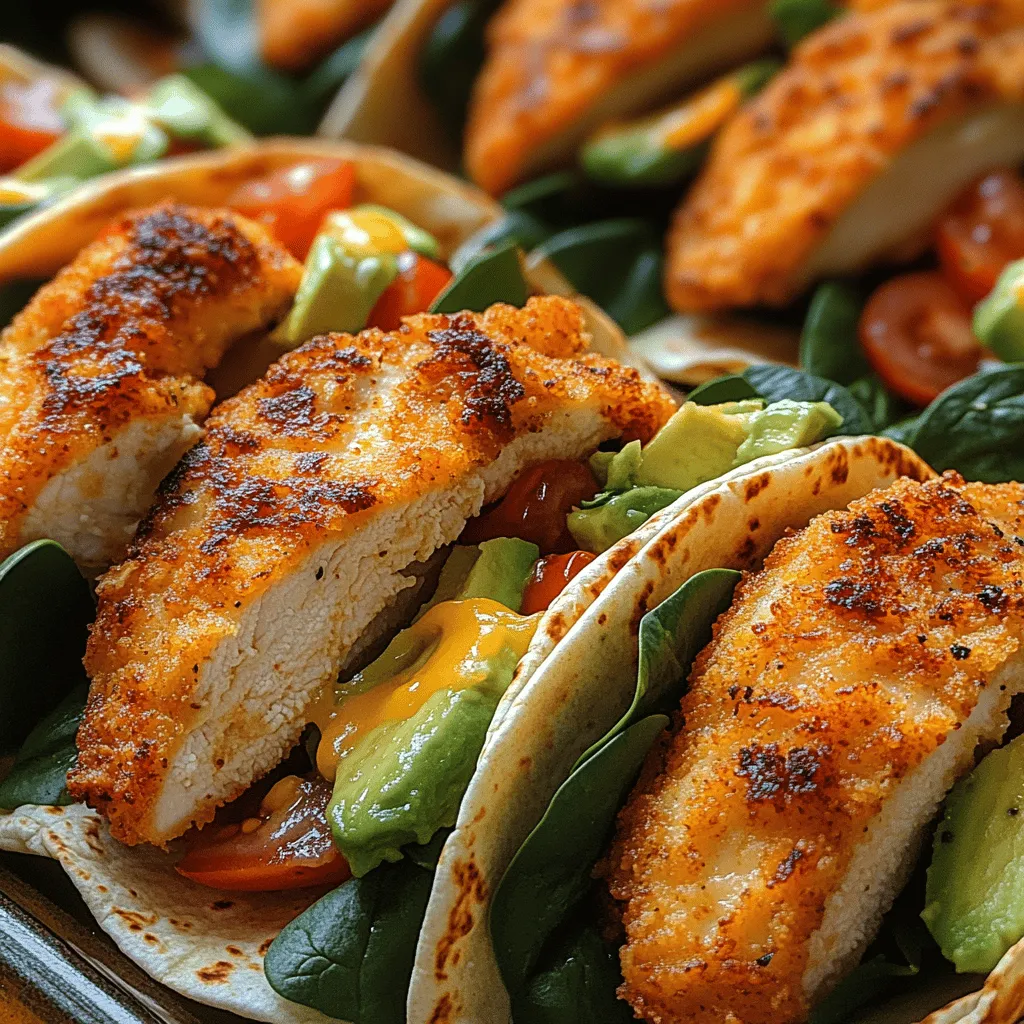
3. Add the Chicken: Place the crispy chicken strips on top of the spinach. This allows the warmth of the chicken to slightly wilt the spinach, enhancing the flavor.
4. Top with Avocado and Other Ingredients: Add several slices of avocado, diced tomatoes, and any other toppings you prefer. A sprinkle of salt and pepper on the avocado can elevate the flavors significantly.
5. Drizzle with Dressing: If you’re using a dressing or sauce, drizzle it over the layers before rolling. This will help distribute flavor throughout the wrap.
Importance of Layering Ingredients for Balanced Flavor and Texture
Layering your ingredients is crucial for achieving the perfect bite. Ensure that every bite contains a mix of textures and flavors. The crispy chicken provides crunch, while the creamy avocado adds richness. Fresh spinach and tomatoes contribute a refreshing taste, balancing out the savory elements of the dish. By layering thoughtfully, you create a harmonious wrap that excites the palate.
Creative Variations for Fillings, Including Vegetarian Options
Feel free to get creative with your fillings! Here are some variations to inspire you:
– Vegetarian Option: Instead of chicken, use crispy fried tofu or tempeh. Marinate it in similar spices for a delicious alternative.
– Spicy Twist: Add jalapeños or spicy sriracha sauce for a kick.
– Mediterranean Style: Swap out the avocado for hummus, and add grilled vegetables like zucchini and bell peppers for a Mediterranean flair.
– Breakfast Wrap: Use scrambled eggs, black beans, and salsa for a hearty breakfast option.
Rolling Techniques for Perfect Wraps
Detailed Guidance on How to Roll the Wraps Tightly
Mastering the art of rolling is crucial for keeping your wraps intact. Here’s a step-by-step guide:
1. Position the Tortilla: Place the tortilla on a flat surface. Use a large enough tortilla to hold all your fillings without tearing.
2. Add Filling: Place your layered ingredients in the center of the tortilla, leaving about an inch of space on the sides.
3. Fold the Sides: Fold in the left and right edges of the tortilla over the filling. This helps keep the contents from spilling out.
4. Roll from the Bottom: Starting from the bottom, where the filling is, begin to roll the tortilla tightly away from you. Use your fingers to tuck the filling in as you roll.
5. Seal the Wrap: Once fully rolled, you can use a toothpick to hold it together or wrap it in parchment paper for a neat presentation.
Visual Cues for Ensuring the Wraps Stay Intact During Serving
When rolling, ensure that your wrap is snug but not overly tight, as this may cause it to burst. A well-rolled wrap should hold its shape and not fall apart when picked up. If you’re having trouble, practice makes perfect!
Suggestions for Serving Presentation Ideas
Presentation is key when serving your wraps. Consider these ideas:
– Cut in Half: Slice the wraps diagonally for a visually appealing display.
– Serve with Dips: Place a small bowl of ranch dressing, guacamole, or salsa alongside each wrap for added flavor.
– Garnish: Use fresh herbs like cilantro or parsley to garnish your plate, adding a pop of color.
Serving Suggestions
Ideas for Pairing with Sides or Dips
Crispy chicken avocado wraps are versatile and can be paired with a variety of sides. Here are some suggestions to elevate your meal:
– Side Salads: A light cucumber and tomato salad pairs beautifully, offering a refreshing contrast.
– Chips and Salsa: Serve with tortilla chips and your favorite salsa for a fun crunch.
– Vegetable Sticks: Carrot and cucumber sticks with hummus make for a healthy, crunchy side.
Discussion on Various Dressings and Sauces That Complement the Wraps
Dressings and sauces can enhance the flavor of your wraps significantly. Consider these options:
– Ranch Dressing: A classic choice that adds creaminess.
– Chipotle Sauce: For a smoky flavor, mix mayonnaise with chipotle sauce for a zesty dip.
– Honey Mustard: A sweet and tangy option that pairs well with chicken.
– Avocado Dressing: Blend avocado with yogurt and lime juice for a creamy dressing that complements the wrap’s ingredients.
Suggestions for Meal Prep or On-the-Go Lunches
These wraps are perfect for meal prep or on-the-go lunches. To make them ahead of time:
– Wrap and Refrigerate: Assemble the wraps a day in advance and store them in an airtight container in the fridge. Just remember to add the dressing right before serving to prevent sogginess.
– Freezing: If you want to make a larger batch, you can freeze assembled wraps. Just ensure they are well-wrapped to avoid freezer burn. Thaw them in the fridge overnight before consuming.
Nutritional Information
Breakdown of Calories, Macronutrients, and Vitamins Per Serving
Understanding the nutritional profile of your crispy chicken avocado wraps can help you make informed dietary choices. Here’s a general breakdown per serving, assuming one wrap with chicken and avocado:
– Calories: Approximately 450-500 calories
– Protein: 30-35g
– Carbohydrates: 40-45g
– Fat: 20-25g
– Fiber: 7g
Health Benefits of Key Ingredients Like Chicken, Avocado, and Spinach
– Chicken: A great source of lean protein, essential for muscle building and repair.
– Avocado: Rich in healthy fats, fiber, and vitamins E and K, avocados promote heart health and aid in nutrient absorption.
– Spinach: Packed with vitamins A, C, and K, spinach is a nutrient-dense leafy green that contributes to overall health.
Conclusion
Crispy chicken avocado wraps are not only delicious but also incredibly easy to prepare, making them the perfect meal for any occasion. With the right techniques for frying, assembling, and rolling, you can create a wrap that is both satisfying and nutritious. Don’t hesitate to experiment with different fillings and flavors to make this dish your own.
Whether you’re enjoying them for lunch, dinner, or as a meal prep option, these wraps promise to deliver a burst of flavor in every bite. So gather your ingredients and enjoy the process of creating your own crispy chicken avocado wraps today!